Table of Contents
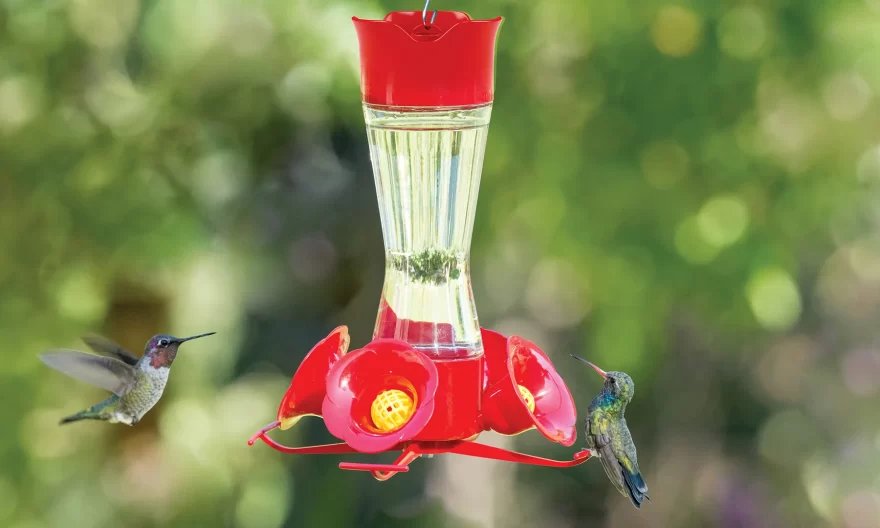
Hummingbirds are colorful and exciting to see in your garden, and these tiny birds are also important pollinators. According to the U.S. Forest Service, “Pollination is not just fascinating natural history.
It is an essential ecological survival function.” Putting out a hummingbird feeder is an excellent way to attract and support these winged wonders, as long as you commit to properly caring for the equipment. “The rule of thumb is to discard the nectar, clean, and refill the feeder every two days.
If you’re looking for an easy way to support these amazing creatures, setting up a hummingbird feeder is a great option. Just be sure to clean it out every couple of days to prevent the nectar from going bad.
Daniel McCurry, the owner of Father Nature Landscapes in Birmingham, Alabama, has some useful advice for anyone who wants to keep their hummingbird feeder clean and functional – get rid of the nectar and give the feeder a good cleaning whenever the liquid inside looks cloudy or milky. According to McCurry,
“The higher the humidity, the faster [the nectar] goes bad for them.” When nectar starts to go bad, it not only tastes terrible to hummingbirds, but it can also make them sick. He adds that “the mold that can grow in the hummingbird’s water can cause them to get a fungal infection,” so it’s important to keep the feeder clean and fresh to prevent this from happening.
How to Clean a Hummingbird Feeder
To keep your hummingbird feeder clean and ensure the safety and health of the birds, follow these steps:
What You Need
- Hot water
- Dish soap (glass feeder)
- White vinegar (plastic feeder)
- Cool water
- Bottle brush
- Dish sponge (optional)
- Microfiber towel
Step 1: Empty the Feeder
“It’s prohibited to reuse nectar as it spoils quickly, especially when it’s warm outside,” Collins says. “Flush the container with hot water after emptying it to remove the spoiled leftovers.”
Step 2: Take Apart the Feeder
Collins suggests that it’s easier to clean the contraption once it’s dissembled, as you’ll be able to give it a much more thorough cleaning this way.
Step 3: Clean the Feeder
To help loosen the residue, soak your feeder parts in hot water and dish soap for glass feeders, or white vinegar for plastic feeders. Rinse with cool water afterwards.
Step 4: Scrub All Parts
Use a bottle brush or dish sponge to remove the residue and mold from each part of the feeder, then rinse the feeder well with cold water. “Cleaning it like this every two days will make each subsequent cleanup simpler,” Collins adds.
Step 5: Dry Thoroughly
To avoid wasting money on towels that will just end up getting soaked, use a microfiber towel instead. When you’re done cleaning, Collins says to “soak up all of the excess moisture from the feeder. When the feeder is dry, reassemble, refill, put it back, and enjoy the company of the happy hummingbirds in your garden!”
Use a microfiber towel to soak up all of the excess moisture from cleaning, which you can buy for just $15 at Walmart. “When the feeder is dry, reassemble, refill, put it back, and enjoy the company of the happy hummingbirds in your garden!” Collins says.